
Your Year 6 child comes home from school and announces, with the confidence of newly acquired knowledge: "We see things because light goes from our eyes to objects." You pause, sensing something's not quite right, but can't immediately articulate why. This is exactly the misconception the Year 6 light curriculum is designed to address, and it is surprisingly persistent even among adults.
The Year 6 light unit is one of the most conceptually challenging topics in primary science because it requires children to understand something fundamentally counterintuitive: we don't actively "look at" things by sending something from our eyes; instead, light bounces off objects and enters our eyes, allowing us to see. This simple fact contradicts our everyday experience of vision feeling active rather than passive.
This guide walks you through the Year 6 light curriculum with explanations, the common misconceptions, and practical ways to help at home.
What the Year 6 Light Curriculum Covers
According to the National Curriculum for England, by the end of Year 6, pupils should be able to:
- Recognise that light appears to travel in straight lines
- Use the idea that light travels in straight lines to explain that objects are seen because they give out or reflect light into the eye
- Explain that we see things because light travels from light sources to our eyes or from light sources to objects and then to our eyes
- Use the idea that light travels in straight lines to explain why shadows have the same shape as the objects that cast them
Reflection from surfaces was taught in Year 3, and Year 6 builds on it when explaining how we see. Refraction (light bending as it passes from air into water or glass) is Key Stage 3 content. Some Year 6 teachers show it anyway because the effects are so striking, so it is covered briefly below and marked as an extension.
Key Vocabulary Your Child Should Learn
- Light source: An object that produces its own light (Sun, torch, candle, light bulb)
- Reflect/reflection: When light bounces off a surface
- Shadow: A dark area formed when an opaque object blocks light
- Opaque: Does not allow light to pass through (wood, metal, your hand)
- Transparent: Allows light to pass through clearly (clear glass, water, air)
- Translucent: Allows some light to pass through but scatters it (frosted glass, thin paper, waxed paper)
- Refraction (Key Stage 3, extension only): The bending of light as it passes from one material to another
Understanding How We See: The Core Concept
This is the central idea of the unit, and it is worth spending time on.
The Correct Model of Vision
We see objects because:
- Light is produced by a light source (the Sun, a lamp, a candle)
- This light travels in straight lines until it hits an object
- The object reflects some of that light
- The reflected light travels in straight lines to our eyes
- Our eyes detect this light, and our brain interprets it as seeing the object
For luminous objects (things that produce their own light, like the Sun or a torch), we see them because light travels directly from the object to our eyes. For non-luminous objects (everything else: books, tables, people, the Moon), we see them only because light from another source bounces off them and then enters our eyes.
Why This Is Hard to Grasp
Vision feels active. When we "look" at something, it feels as if we are reaching out to it with our eyes. This feeling is so strong that some ancient Greek philosophers believed we saw by sending out rays from our eyes.
How to Reinforce Correct Understanding at Home
The most effective way to challenge misconceptions about vision is through experiences in complete darkness:
The Dark Room Demonstration: Go into a completely dark room with your child (a bathroom with no windows works well). Close the door and turn off all lights. Wait for eyes to adjust and ask: "Can you see anything? Why not?" Discuss that there's no light source, so even though your eyes are open and working perfectly, there's nothing to see. Turn on a torch and notice how immediately you can see the things the torch light hits, because light is now reflecting off objects and entering your eyes.
This simple experience is more powerful than any diagram because it makes clear that seeing requires light to enter our eyes, not leave them.
Light Travels in Straight Lines
This concept underpins everything else in the unit. Light travels in perfectly straight lines (called rays) until something makes it change direction or stops it.
Evidence for Straight-Line Travel
Children encounter several pieces of evidence for straight-line light travel:
- Shadows have sharp edges: If light spread out in all directions from a source, shadows would be fuzzy all over. Sharp shadow edges show light travelling in straight paths.
- Pinhole cameras work: A simple pinhole camera (which your child may make at school) produces an upside-down image precisely because light travels in straight lines from each point on an object through the pinhole to the screen.
- You can't see around corners: Light doesn't bend around obstacles (in everyday situations), which is why you can't see things hidden behind walls or around corners.
Simple Home Investigation: Testing Straight-Line Travel
This classic investigation makes the concept concrete:
You'll need three index cards, a torch, and something to prop up the cards so they stand vertically. Make a small hole (about 1cm diameter) in exactly the same place on each card. Line up the three cards in a row with the holes aligned, and shine the torch through the first hole. The light will pass through all three holes because it's travelling in a straight line.
Now shift the middle card sideways slightly so the holes are no longer aligned. The light can't get through because it won't bend around the edge of the middle card. It only travels in straight lines. This simple demonstration makes the concept tangible and memorable.
Shadows: Shape, Size, and Formation
Understanding shadows requires combining two concepts: light travels in straight lines, and opaque objects block light.
Why Shadows Have the Same Shape as the Object
When light (travelling in straight lines) hits an opaque object, the object blocks the light. Behind the object there is an area where no light reaches. That is the shadow. Because light travels in straight lines from the source, the outline of the shadow matches the outline of the object blocking the light.
Year 6 children should be able to draw ray diagrams showing:
- A light source
- Straight lines (rays) representing light travelling from the source
- An opaque object blocking some of those rays
- The shadow area where blocked rays can't reach
Shadow Size and Distance
This is where it gets more interesting. The size of a shadow depends on:
- Distance between the light source and the object: As the object moves closer to the light source, the shadow gets larger (because the object blocks more of the spreading light rays)
- Distance between the object and the screen/surface: As the object moves farther from the surface, the shadow gets larger (because the blocked rays have more room to spread before hitting the surface)
Many children (and adults) find this counterintuitive because everyday experience with the Sun's shadows doesn't show much size change. The Sun is so far away that its rays are almost parallel, so shadows don't change size noticeably as objects move.
Hands-On Shadow Exploration
The best way to understand shadow behaviour is to experiment:
In a darkened room, use a torch as your light source and various objects (a toy figure, your hand, a cup). Project shadows onto a wall. Let your child experiment with:
- Moving the object closer to and farther from the torch (shadow size changes)
- Moving the object closer to and farther from the wall (shadow size changes)
- Changing the angle of the torch (shadow shape appears to change/distort)
- Using transparent objects like clear plastic (no shadow), translucent objects like tracing paper (faint shadow), and opaque objects (dark shadow)
After free exploration, ask them to predict: "If I move the torch closer to this toy, will the shadow get bigger or smaller? Why?" Testing predictions against reality helps solidify understanding.
Reflection: How Mirrors Work
Reflection is when light bounces off a surface. All objects reflect some light (which is why we can see them), but smooth, shiny surfaces like mirrors reflect light in a very organised way.
The Law of Reflection (Simplified for Year 6)
When light hits a mirror, it bounces off at the same angle it arrived. If light comes in at a steep angle to the mirror, it bounces off at the same steep angle on the other side. If light comes in nearly perpendicular to the mirror, it bounces nearly straight back.
Year 6 children aren't expected to measure angles precisely, but they should understand that reflection isn't random. Light bounces off mirrors in predictable ways, which is why mirror images are stable rather than jumbled.
Extension: Refraction (This Comes Later, in Key Stage 3)
Refraction is Key Stage 3 content, but many Year 6 teachers introduce it because the effects are so striking. Your child will not be assessed on it in Year 6.
What Is Refraction?
Refraction is the bending of light when it passes from one transparent material to another, for example from air into water, or air into glass. This bending happens because light travels at different speeds in different materials (slower in water than in air, slower still in glass).
Familiar Examples of Refraction
- The bent straw effect: Put a straw in a glass of water and look from the side. The straw appears to bend at the water's surface. The straw hasn't bent; the light from the underwater part has bent as it passed from water to air.
- Pools appearing shallower: When you look at the bottom of a swimming pool from above, it appears shallower than it actually is because of refraction at the water's surface.
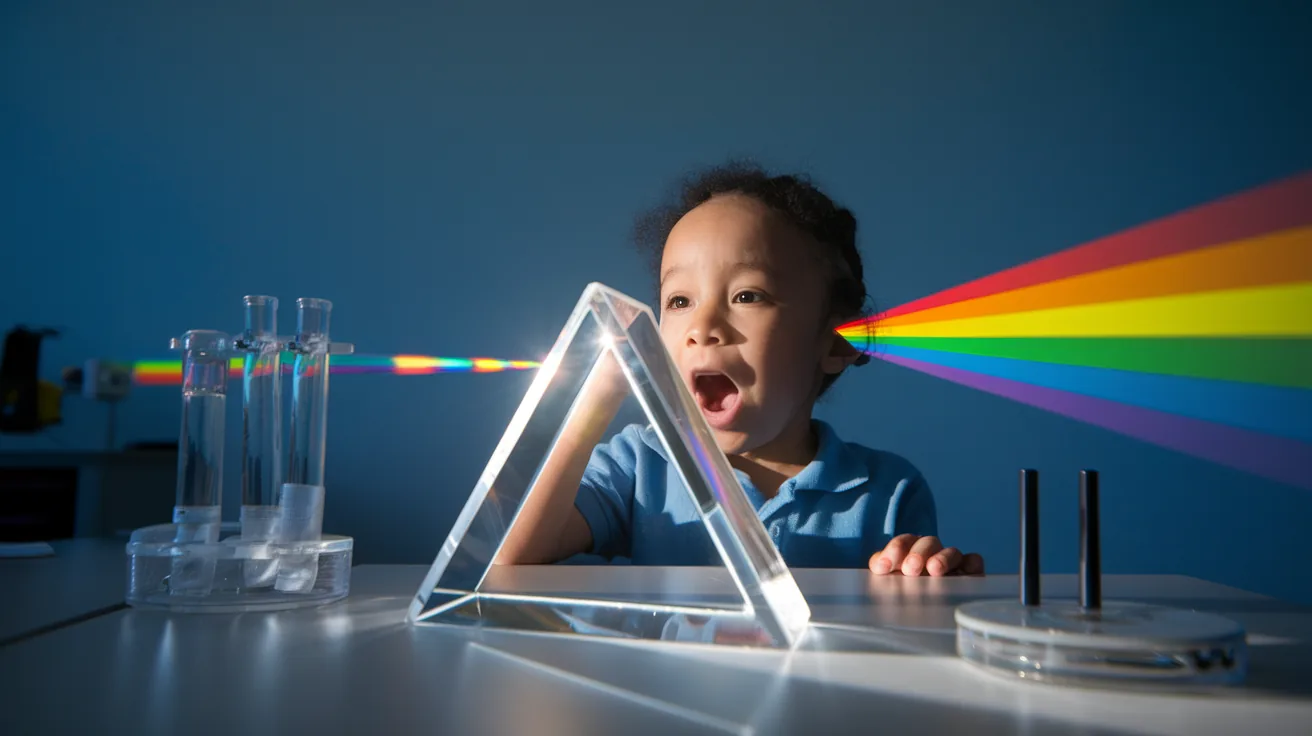
- Rainbows: Sunlight is a mix of colours. Water droplets bend each colour by a slightly different amount, which spreads them out into a rainbow. A prism does the same.
Simple Refraction Demonstration: The Disappearing Coin
This classic demonstration never fails to impress:
Place a coin in an empty opaque cup or bowl. Position your child so they can just barely not see the coin over the rim of the cup. Now, without moving the cup or your child, slowly pour water into the cup. As the water level rises, the coin becomes visible even though nothing has moved.
Why? Light reflecting from the coin refracts (bends) as it passes from water to air, changing direction enough that it can now reach your child's eyes when it couldn't before. It feels like magic but is simply refraction at work.
Common Misconceptions and How to Address Them
Teachers meet the same misconceptions about light every year. Knowing them helps you spot when your child has misunderstood something basic.
Misconception 1: "We see by looking at things" (Active Vision)
Correct understanding: We see when light enters our eyes from objects.
How to address: Use the dark room demonstration described earlier. Also ask: "Can you see anything with your eyes closed in a bright room? Can you see anything with your eyes open in a completely dark room? Why?" Stress that eyes need light to come into them; they don't send anything out.
Misconception 2: "Shadows are reflections"
Correct understanding: Shadows are the absence of light; reflections are light bouncing off surfaces.
How to address: Shadows appear on any surface behind an object blocking light (the wall, the floor, a piece of paper). Reflections only appear on smooth, shiny surfaces. Shadows are dark; reflections are bright. They're opposite phenomena.
Misconception 3: "Light from a torch doesn't travel beyond where you can see the beam"
Correct understanding: Light from a torch continues travelling in straight lines indefinitely until it hits something. We only see the beam in dusty/foggy air because dust particles scatter some light to our eyes.
How to address: Shine a torch in a dark room with clean air. You can't see the beam, only the spot where it hits the wall. Now add some dust (talcum powder works) or steam, and suddenly the beam is visible because the particles in the air scatter light to your eyes. The light was travelling through the space all along; we just couldn't see it until particles gave us something to see.
Misconception 4: "Some objects (like the Moon) produce their own light"
Correct understanding: Only light sources produce light. The Moon, planets and most objects we see are non-luminous; they reflect light from the Sun.
How to address: Discuss why we can't see the Moon during a new moon. The Sun isn't lighting the side facing us, which shows the Moon only reflects light rather than producing it. Similarly, planets, asteroids, and even reflective road signs are visible only because they reflect light from other sources.
Supporting Year 6 Light Learning at Home
Beyond correcting specific misconceptions, a few general habits help.
Encourage Explanatory Drawing
Ask your child to draw diagrams explaining how we see things, how shadows form, or how mirrors work. The act of creating a visual representation forces them to think through the process step by step. When they draw, they reveal their understanding (or misunderstandings) in ways that verbal answers might hide.
Check that the rays are straight, that the arrows run from source to object to eye (not from the eye outwards), and that the light source is marked.
Connect to Real-World Observations
- Shadows throughout the day: Notice how shadows change position and length as the Sun moves across the sky. This reinforces that shadow behaviour depends on the position of the light source.
- Reflections in different surfaces: Notice that you can see clear reflections in calm water, windows, and mirrors, but not in rough surfaces like brick walls or carpets. This connects to how smooth surfaces reflect light in organised ways while rough surfaces scatter it.
- Rainbows and prisms: If you have a prism or a crystal that throws rainbows in sunlight, it shows that white light is made of many colours (an extension idea, not a Year 6 requirement).
When to Seek Additional Support
Light is a conceptually demanding topic, and some children struggle more than others. Consider additional support if:
- Your child consistently reverses the direction of light travel in explanations (eye to object instead of object to eye)
- They can't explain why we can't see in the dark even after multiple discussions
- They're anxious about the upcoming assessments and would benefit from structured practice
- They find it difficult to draw ray diagrams showing light travelling in straight lines
Short-term tutoring can help sort out a misconception before it becomes fixed. Fareed, our AI science tutor (currently on a waitlist), is designed to give children patient, repeated explanation on topics like this one.